

General
Account & access
Exhibitors
Catalogue
Committee handover
General
How do I see how things look for exhibitors?
How do I see how things look for exhibitors?
- Forms and orders
There are dedicated preview pages available from the sidebar. These will be the same pages that exhibitors see, meaning that you’ll get an interactive, up-to-date view of how things look. The only difference is that you won’t be able to submit the form or order through the preview. - Emails
You can view all sent automatic emails related to your event by going to Email logs or viewing the “Email logs” tab in an exhibitor’s profile.
When do emails get sent automatically to exhibitors?
When do emails get sent automatically to exhibitors?
- Order confirmation
This includes a summary of what they have ordered. - Form submission confirmation
A confirmation when they submit a form for your event. - Status update emails
This is sent when you accept, reject or mark an exhibitor as pending for your event. If you don’t want this to be sent, you can choose “No email” when updating their status. - New member sign up
Notification when a new member joins their organization.
How do I send emails to all exhibitors?
How do I send emails to all exhibitors?
- Mail merge
If you use Gmail, you can send personalized emails all at once by using their mail merge feature. If you don’t use Gmail, you can search for “mail merge” to find multiple other tools that do this. This is generally the recommended way. - BCC
If you enter all email addresses in the “bcc” field of your email, everyone receives the email and you don’t risk the recipients seeing each other’s email addresses.
However, all replies will land in the same email thread, which can be messy if you have a lot of recipients. To prevent this, let the exhibitors know what email they should reply to, and they will often create new threads instead of replying in the original.
Account & access
An exhibitor is unable to sign up. What should I do?
An exhibitor is unable to sign up. What should I do?
Why am I not receiving a verification email when signing up?
Why am I not receiving a verification email when signing up?
How do I invite collaborators to my organization?
How do I invite collaborators to my organization?
A company is getting a new contact person. What should I do?
A company is getting a new contact person. What should I do?
Exhibitors
What does pending, approved and rejected mean?
What does pending, approved and rejected mean?
- Pending
Registered interest, but are not yet approved or denied. This is the default status for all exhibitors. - Approved
You decide when to approve exhibitors, but usually it’s done once they’ve signed your exhibitor agreement and passed your internal review. Approved exhibitors are shown in the digital catalogue. - Rejected
If an exhibitor decides not to participate, they registered by mistake, or you simply are unable to provide them a spot at the fair.
How do I change an exhibitor's status?
How do I change an exhibitor's status?
How do we manage agreements with exhibitors?
How do we manage agreements with exhibitors?
- E-signing services
Services like DocuSign and Scrive allow exhibitors to sign agreements digitally. These services generally allow you to enter email addresses of recipients who should sign the agreement, and they will then receive a link to a page where they can sign the agreement. - Forms with an upload field
Create an ExiKit form with a link to the agreement to be signed. Below it, add an image upload question, where the exhibitor will upload their agreement once signed.
How do I remove an exhibitor from my event?
How do I remove an exhibitor from my event?
Who can see notes that I add to exhibitors?
Who can see notes that I add to exhibitors?
Catalogue
How do I publish/unpublish the catalogue?
How do I publish/unpublish the catalogue?
- Go to Digital catalogue > Shared catalogue
- Check/uncheck the box “Publish the catalogue” and save the changes
What is shown when the catalogue is unpublished?
What is shown when the catalogue is unpublished?
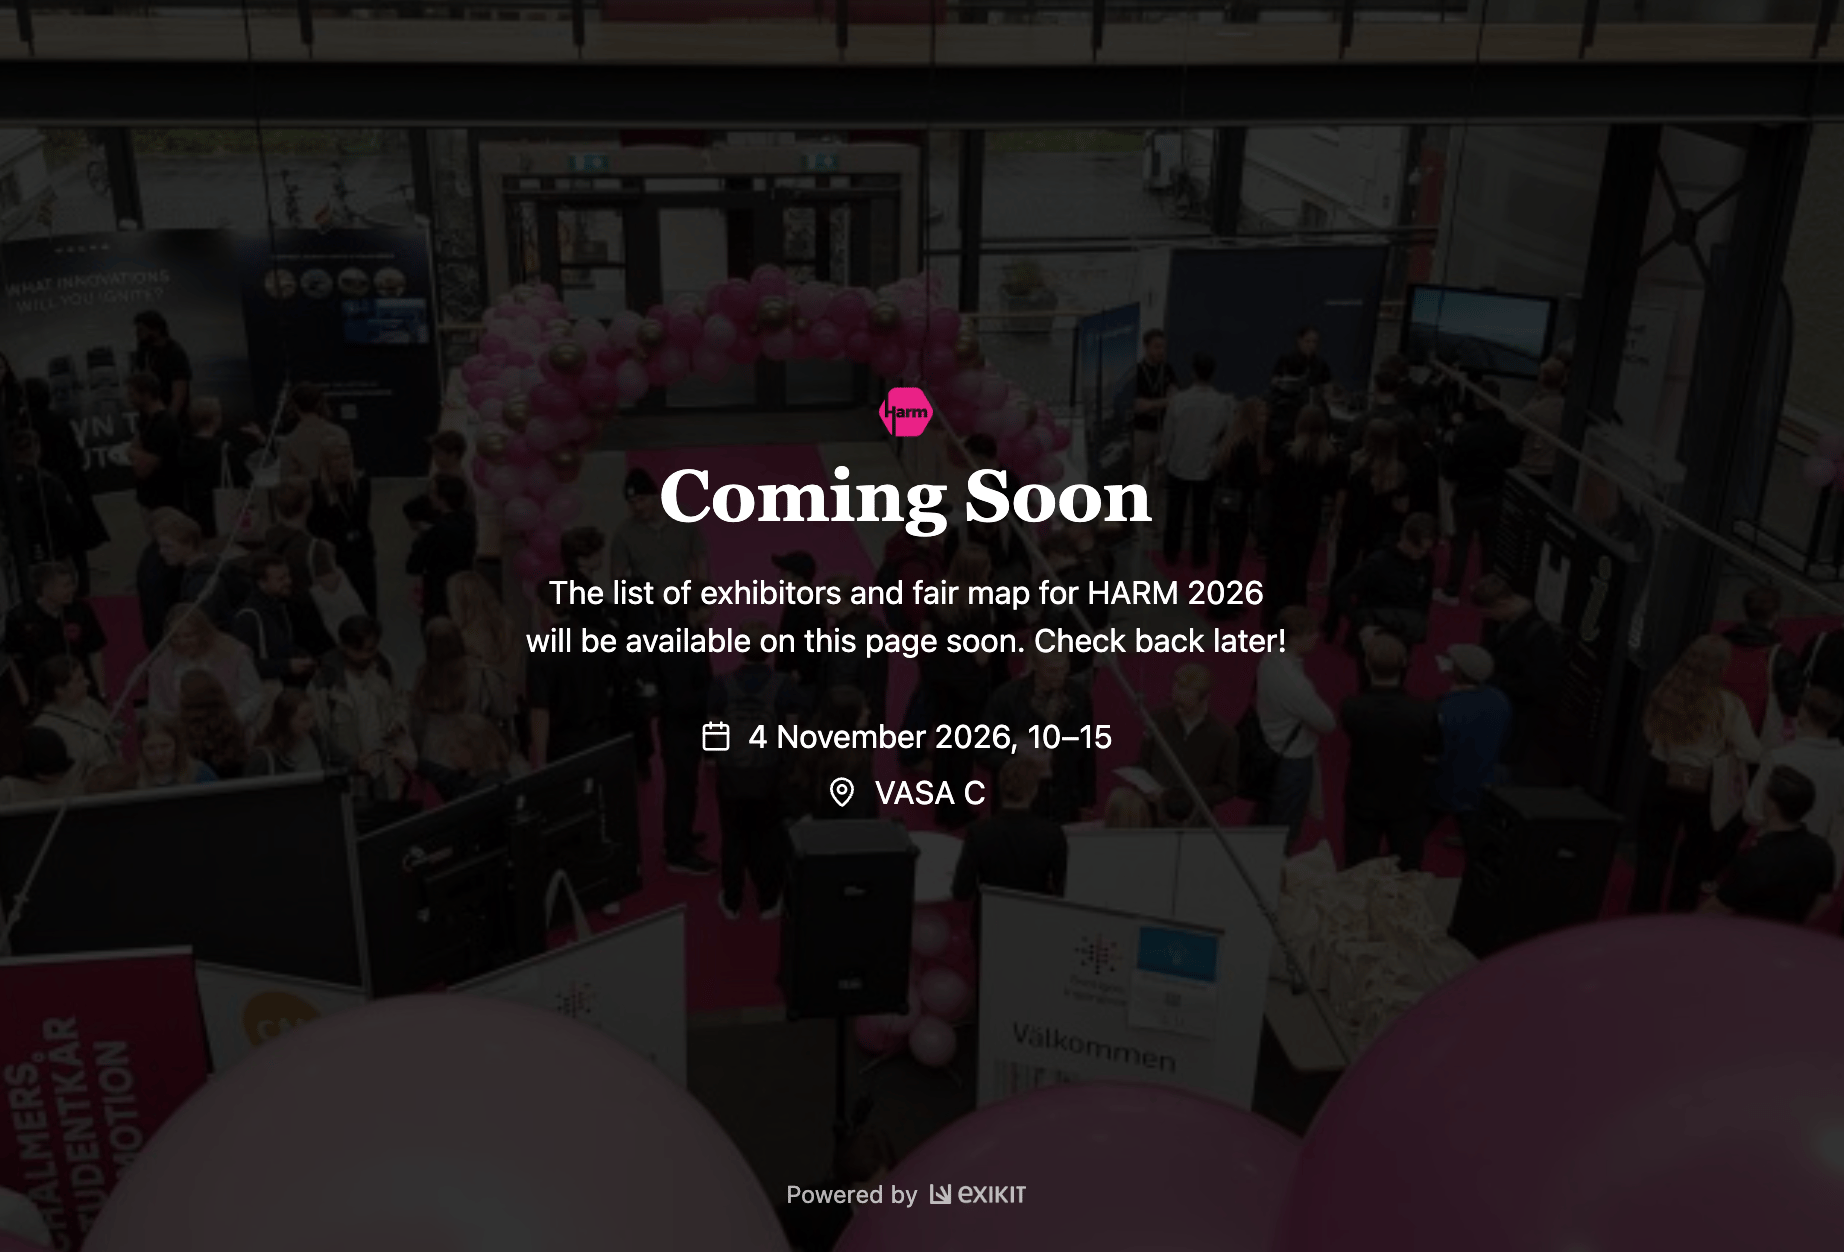
Can I hide an exhibitor from the digital catalogue?
Can I hide an exhibitor from the digital catalogue?
- Go to Digital catalogue > Responses
- Select the row with the exhibitor you want to hide
- Press “Update visibility” in the options above the table
- Select “Hidden” from the dropdown and save the changes
How do I add a link to our own website to the catalogue?
How do I add a link to our own website to the catalogue?
Committee handover
Will future committee members have access to old events?
Will future committee members have access to old events?
How do I store information about exhibitors for future years?
How do I store information about exhibitors for future years?
How do I delete data to ensure GDPR compliance?
How do I delete data to ensure GDPR compliance?